DIY:- baby dress cutting and stitching tutorial video.
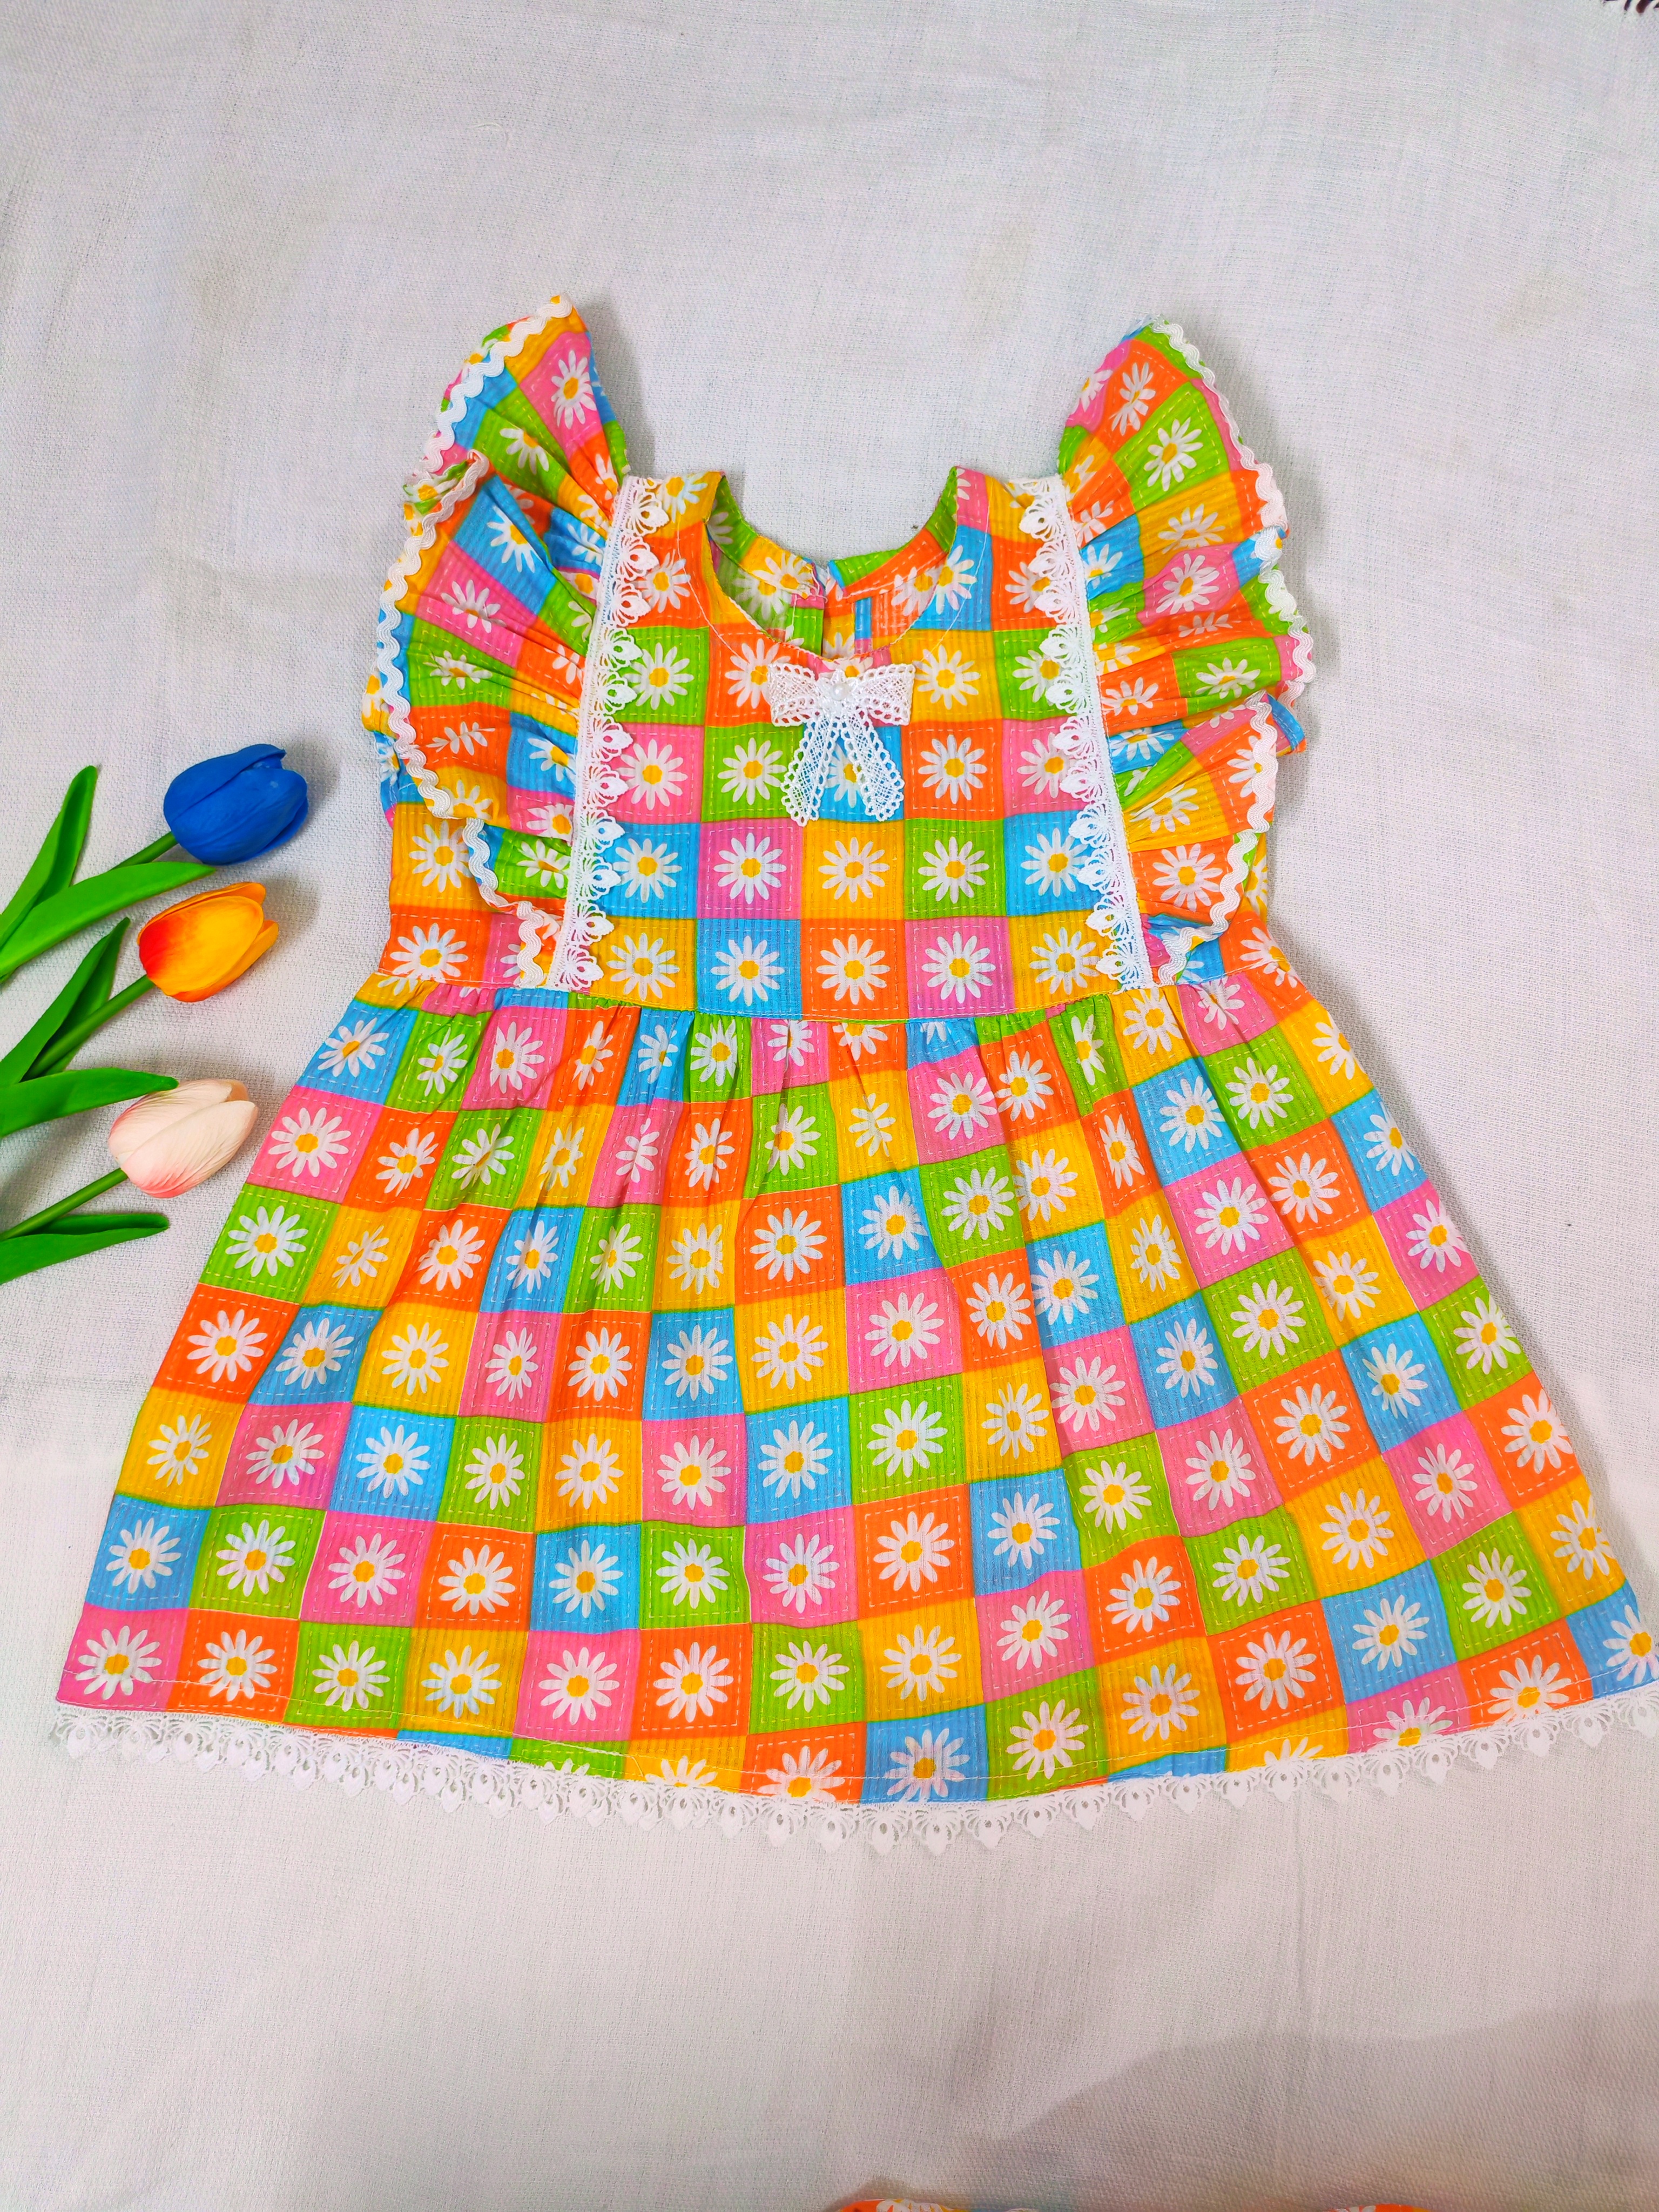
Today I am sharing a video of making a very beautiful baby dress with you. Here I have shown you how to do it from the beginning to the end, cutting and sewing. I have shown you in full detail. Those of you who know how to sew can make such beautiful dresses by watching my video. I liked this video a lot after making it. Especially the dress is very beautiful. So I hope you will like it a lot too.
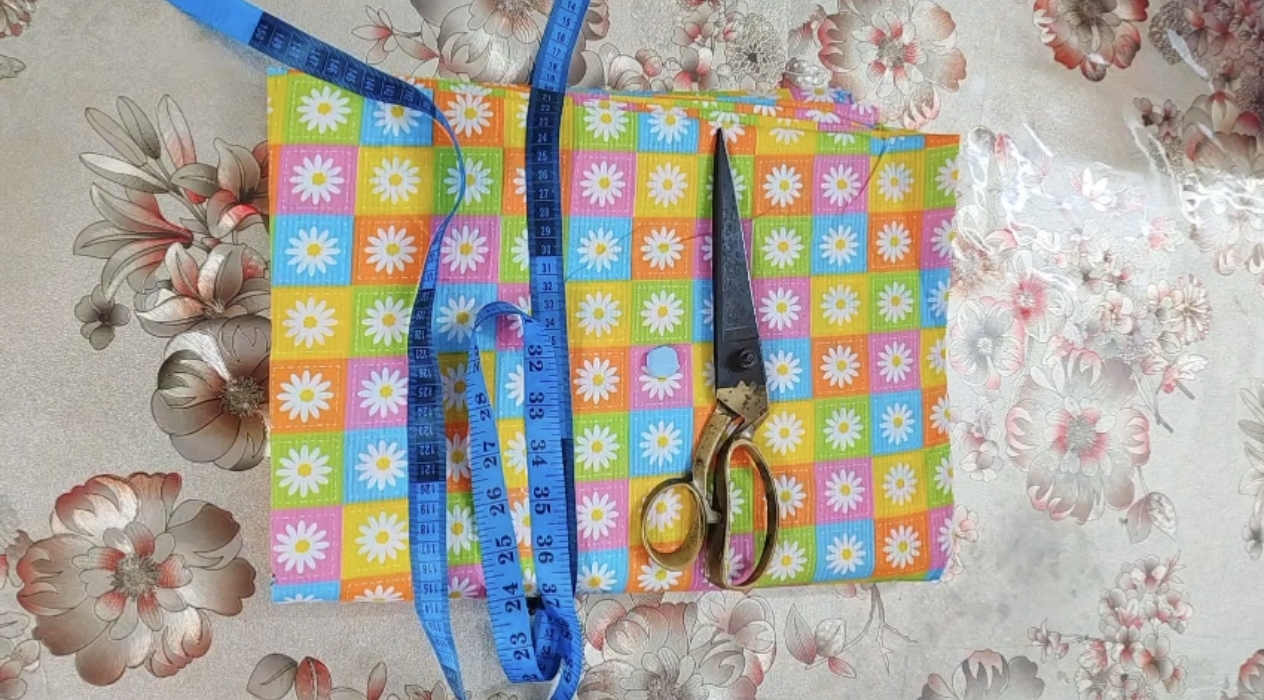
First, I bought a beautiful multi-colored printed cotton fabric. Along with this, I bought some other sewing supplies that I would need.
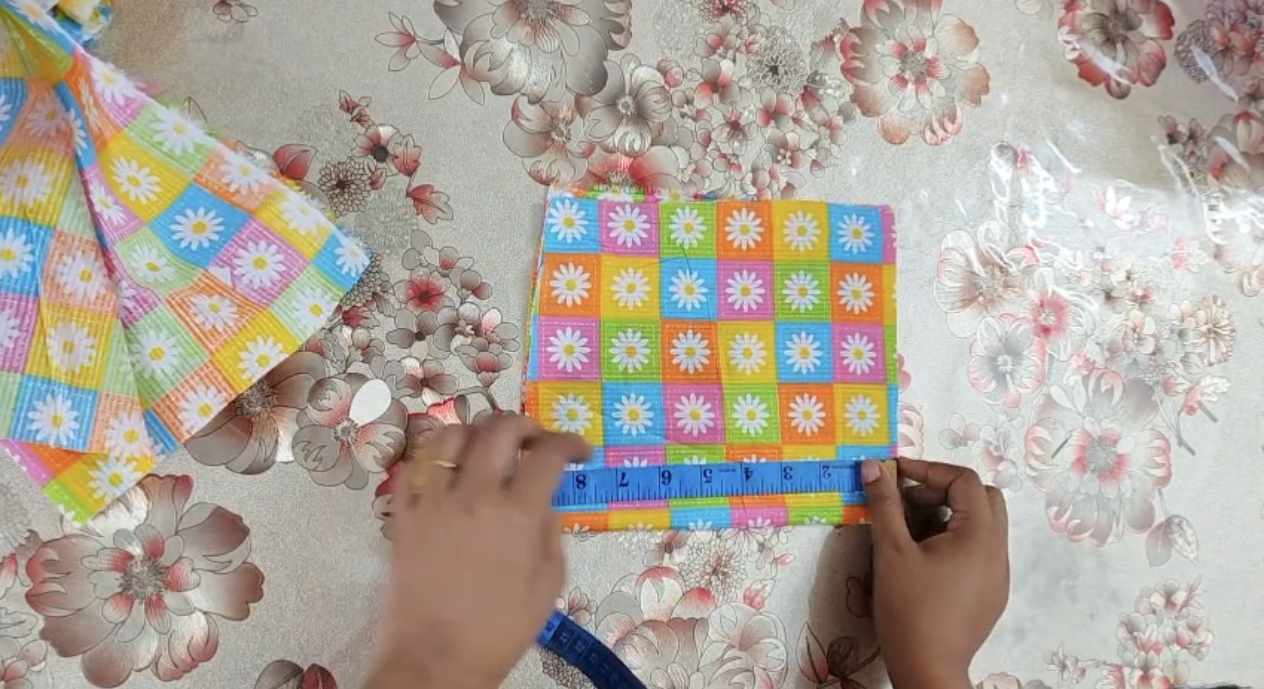
Then, to cut the top of the dress, I took a piece of cloth 8 inches long and 7 inches wide on the sides. I measured the neck and the back and cut it neatly.
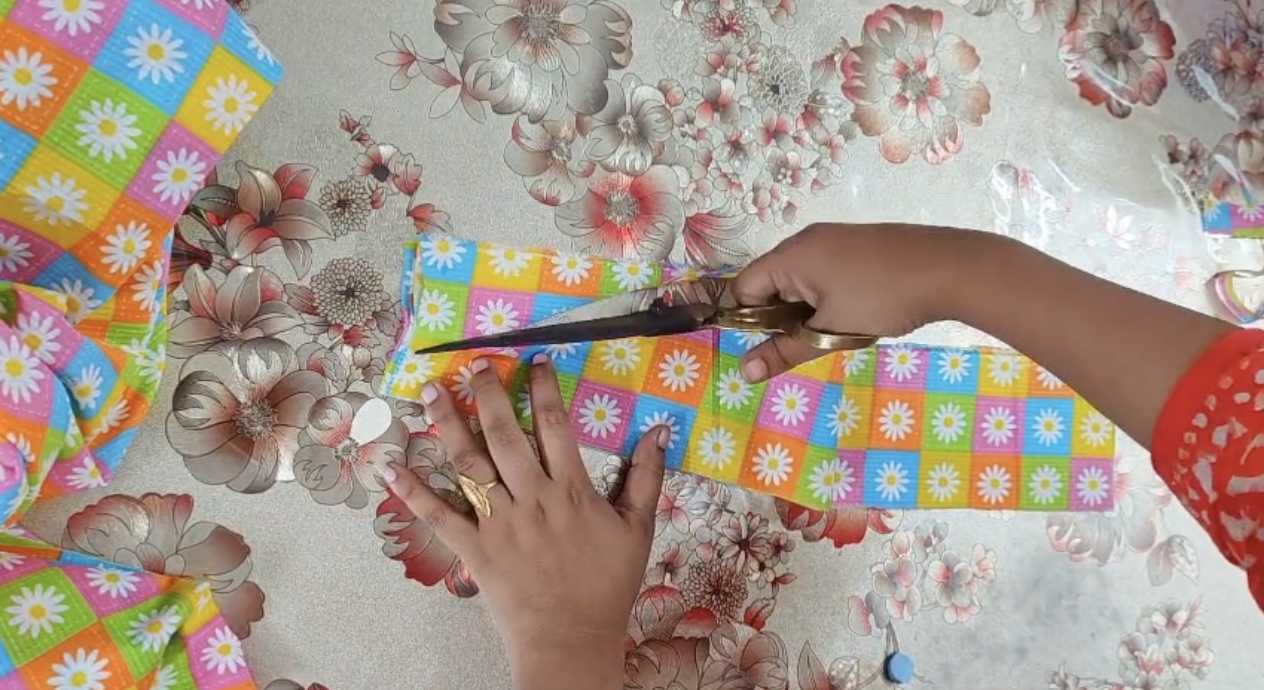
Then I cut two pieces of jute, nine inches long and slightly flattened on the sides, for the bottom of the dress, and for the sleeve design, I took two thin, long pieces of cloth and cut them out neatly.
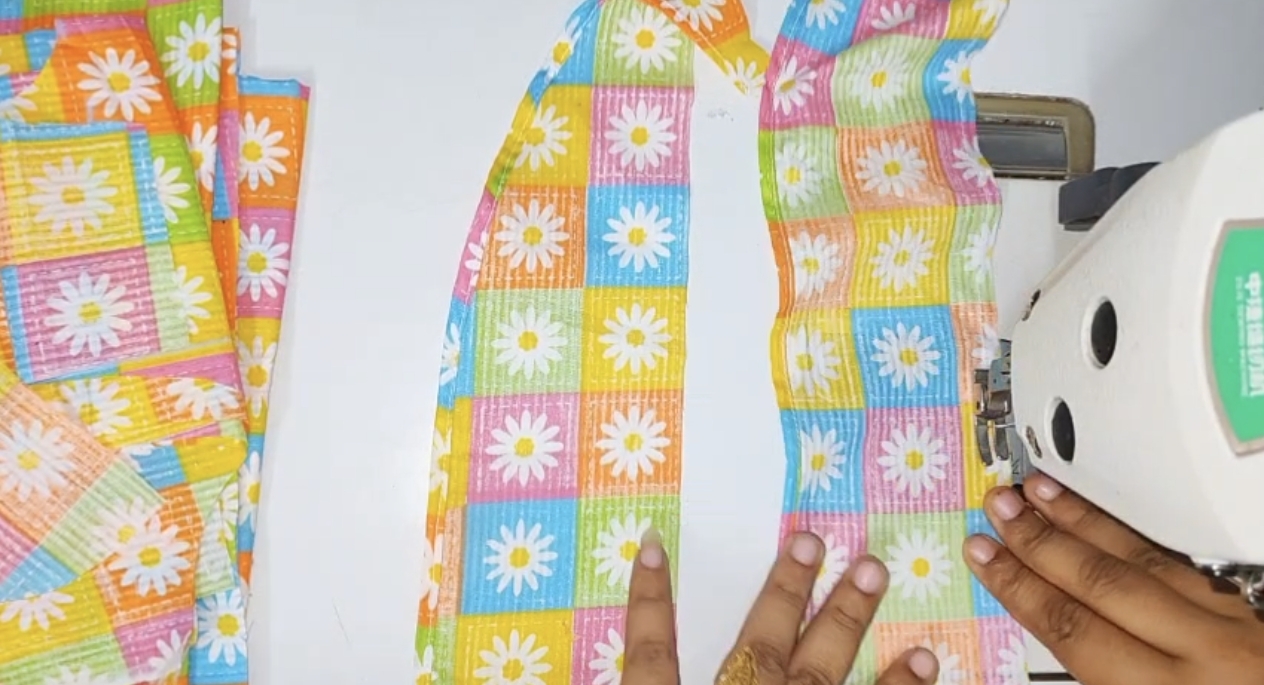
Then I sewed the neck of the dress and cut two pieces of fabric very beautifully to design the top and sewed them together.
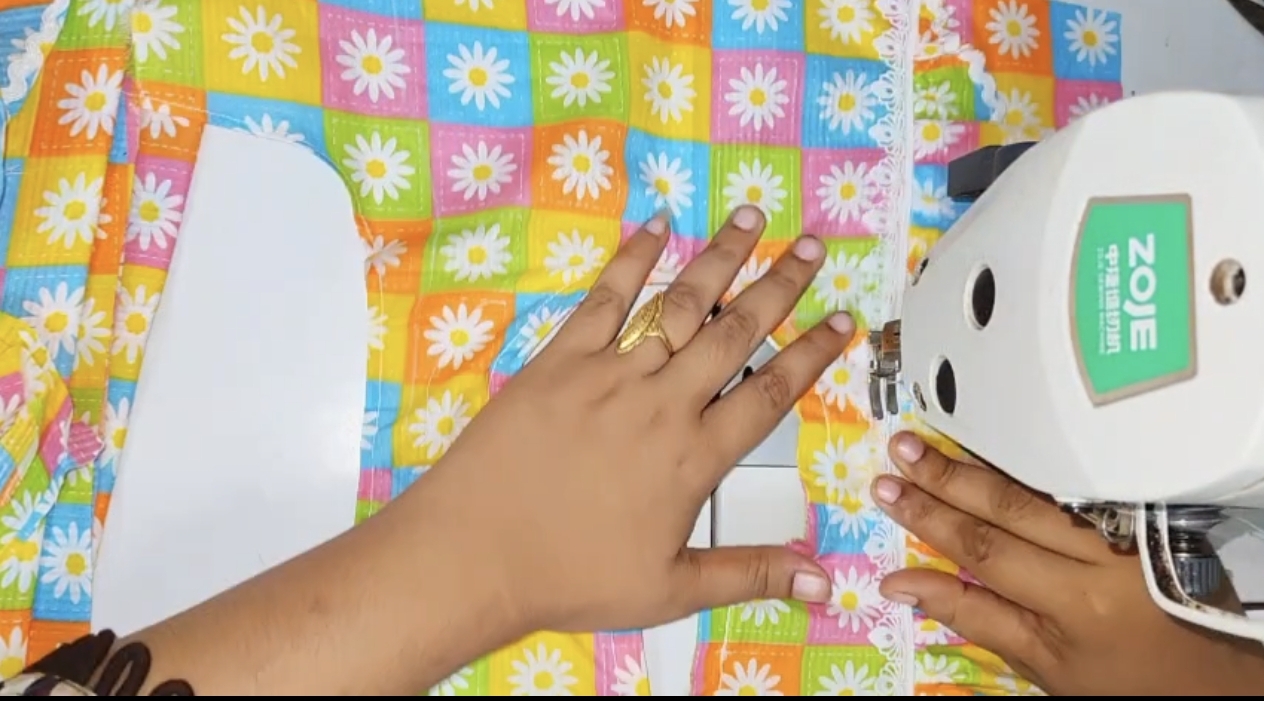
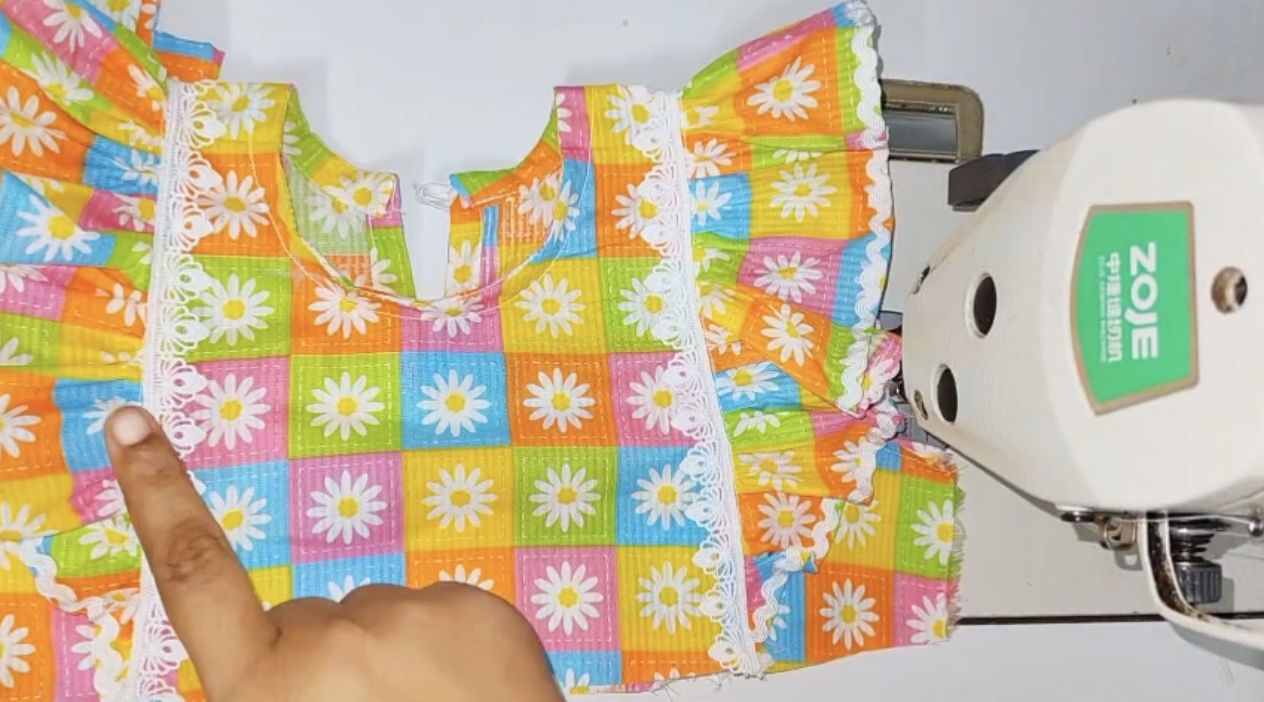
Then I put the two front parts together and designed it with two laces. It looked really good. After finishing this design, I cut another piece of cloth and applied it to the bottom part and added a lace to make it a very beautiful design.
Posted with Speem