Lattice fan motor replacement
Assalamu alaikum, everyone. I am @imranhassan from #Bangladesh
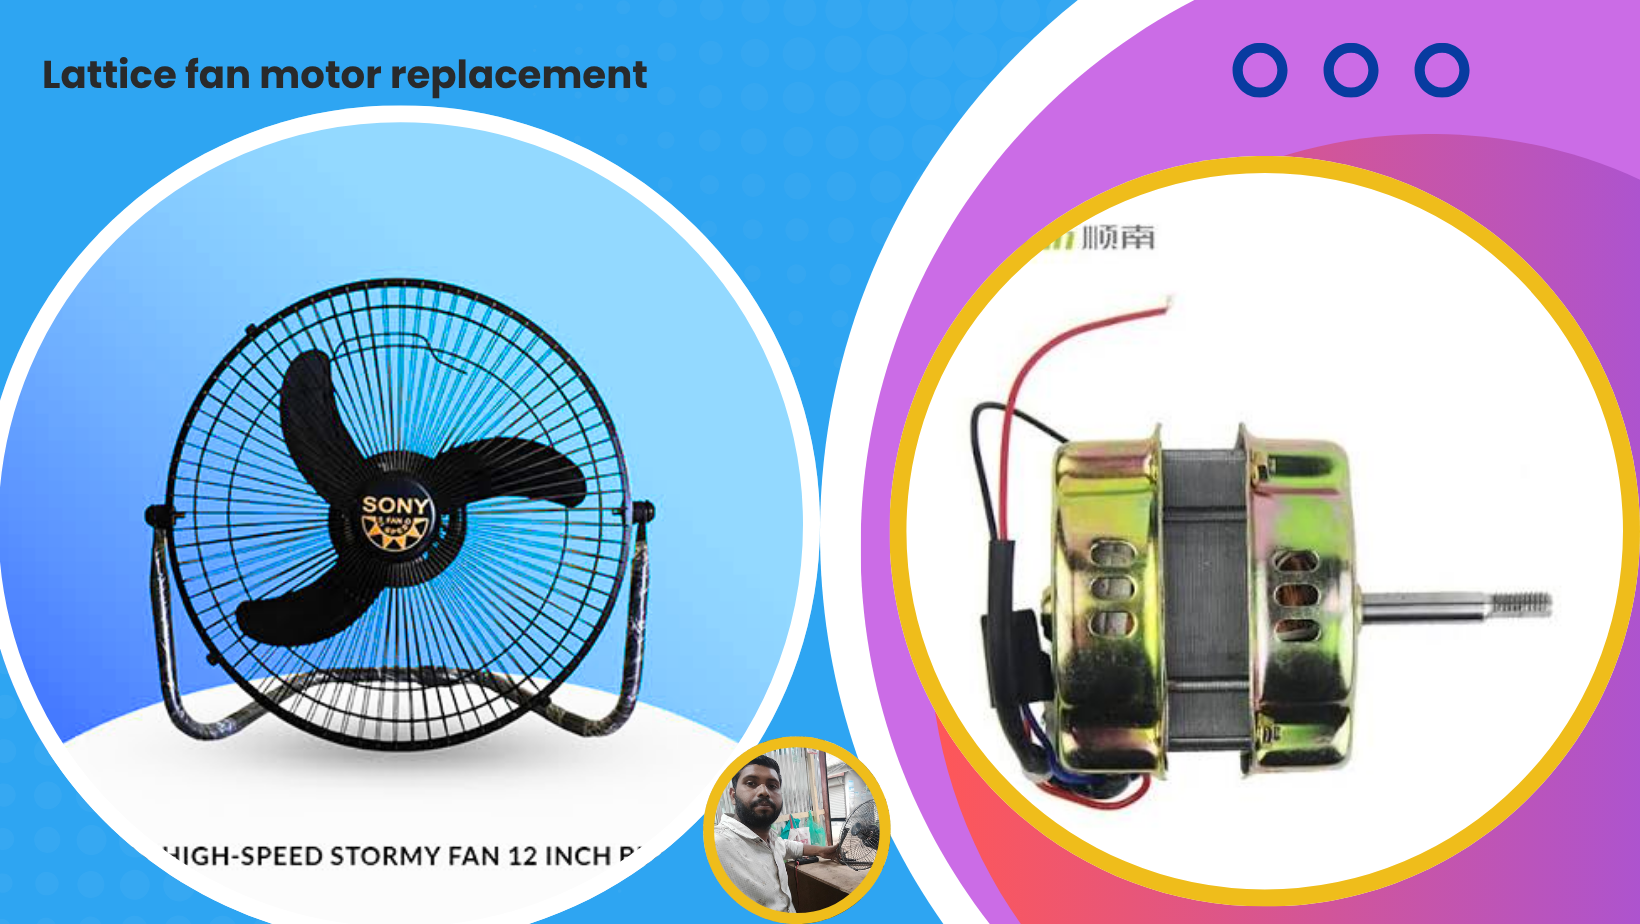
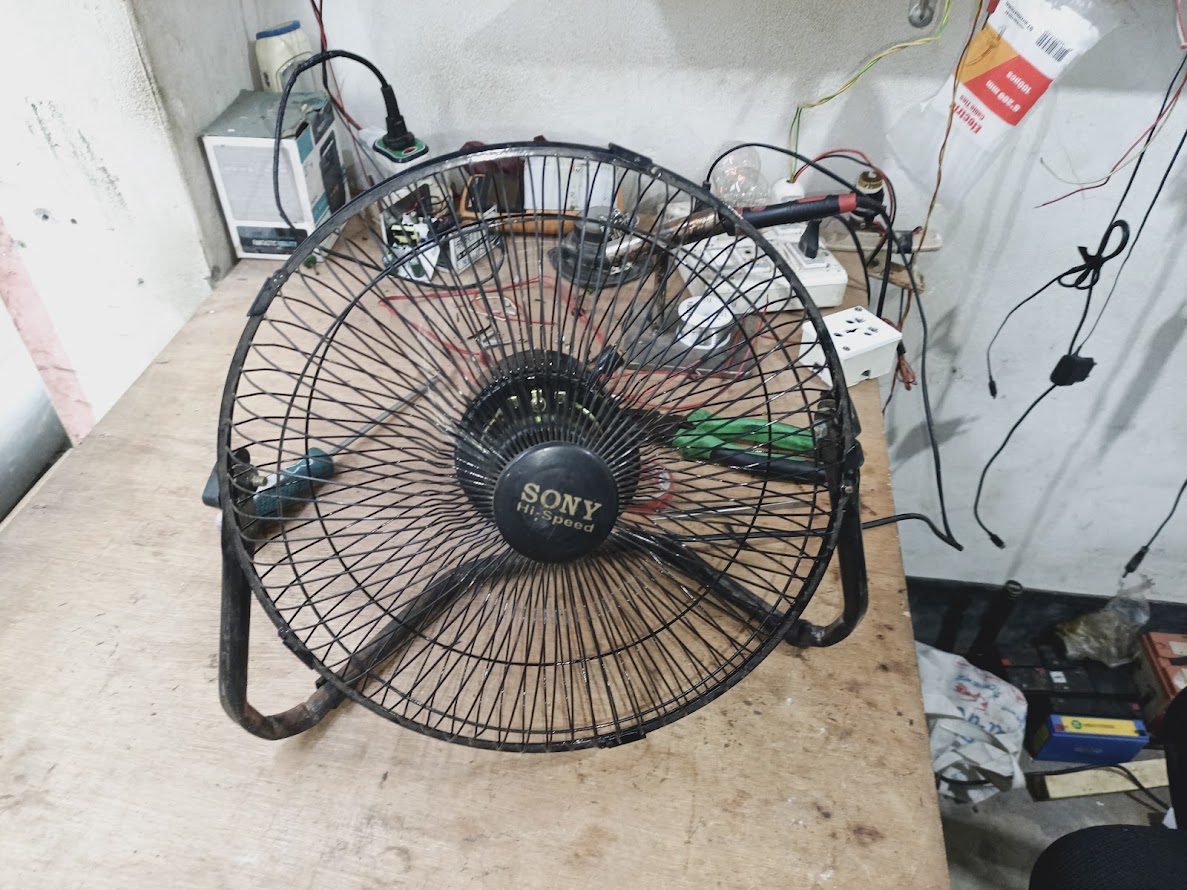
A customer gave me this small fan and said that it is getting power but is not running, and the motor is making noise. Then I opened the fan and observed it and found the problem that let me show you a problem.
Step -01
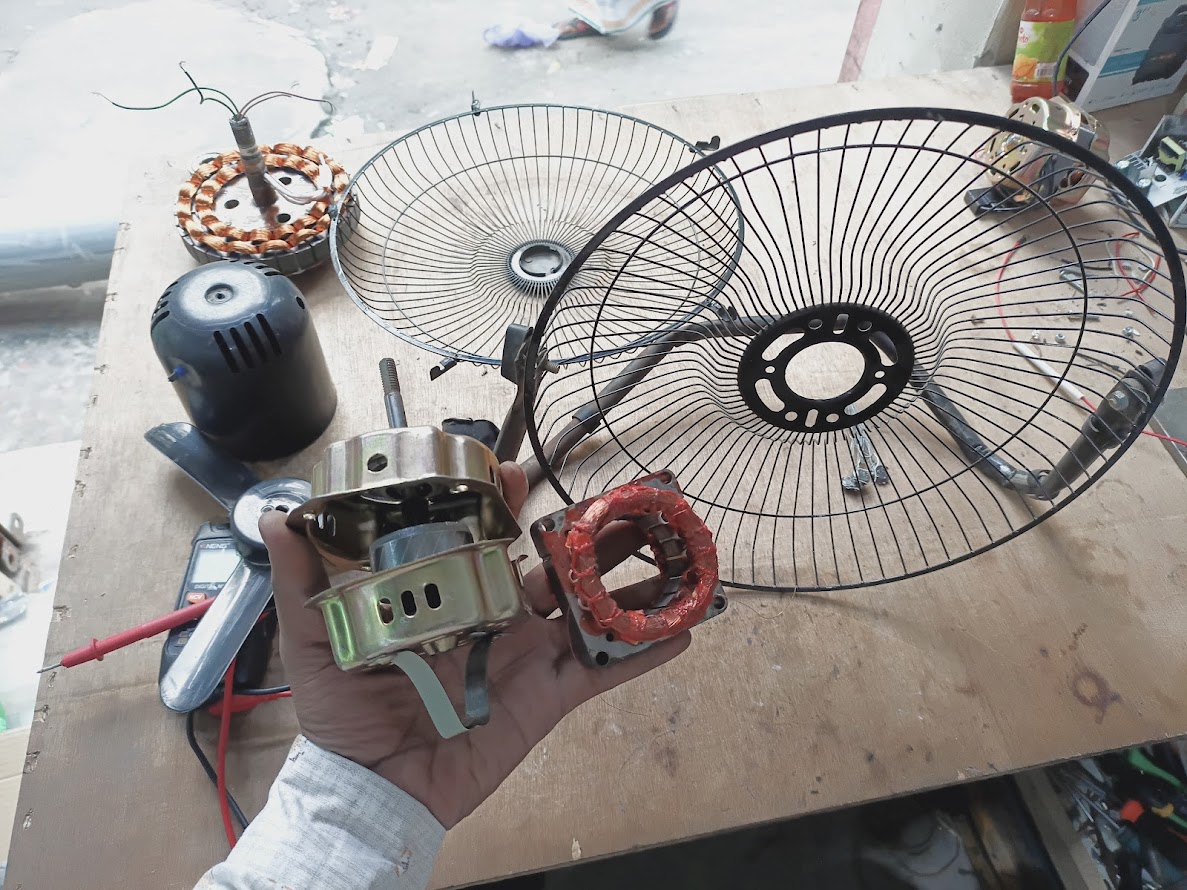
First you can see that I have completely removed the casing since the motor has a problem, so I had to remove the entire fan, and I had to open the entire motor and take apart the motor. Still, the motor could not be repaired because the copper wires inside this motor, which are as thin as hair, have burnt the insulation, so it is not possible to line the motor.
Step -02
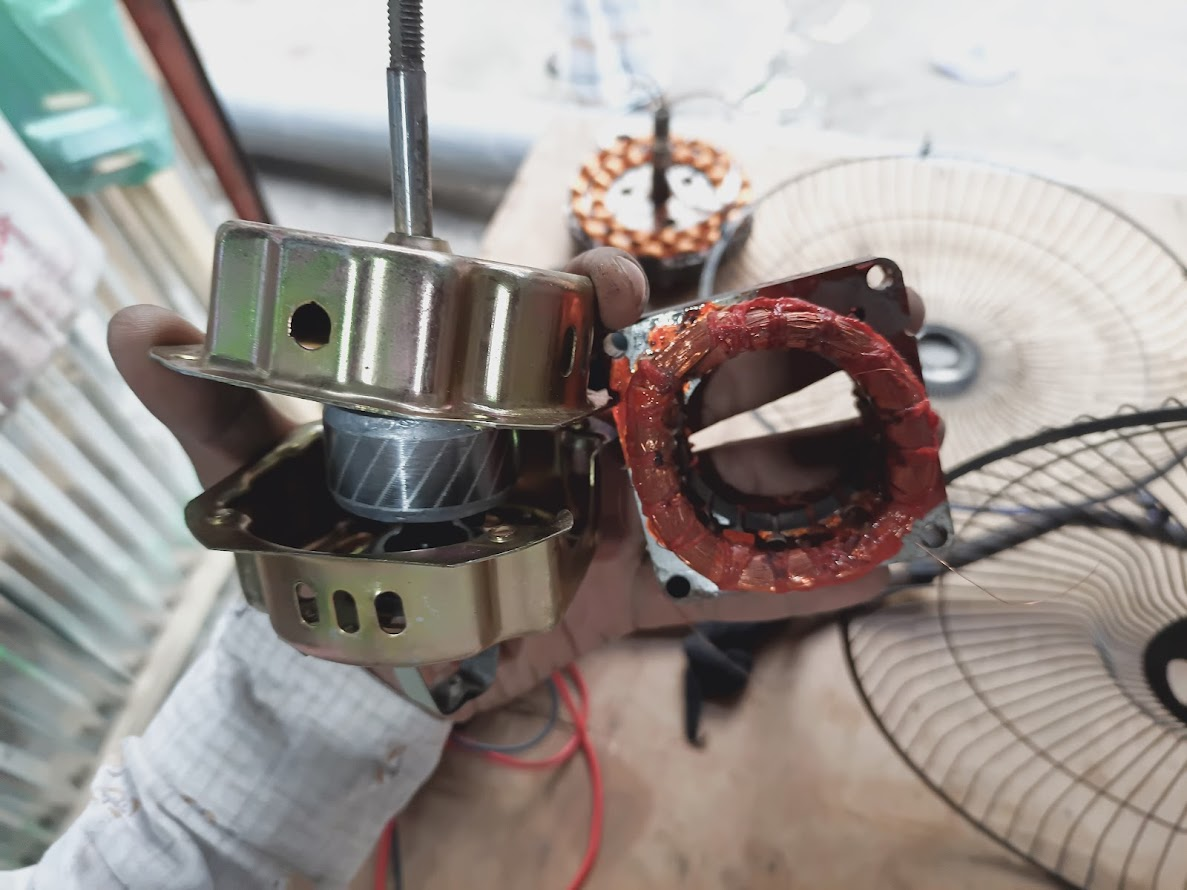
I tried a lot to make this motor run. I re-lined it, varnished it, dried it in the sun and re-fitted it, but the motor could not start working, so I decided to change this motor. Our Bangladeshi market price for these motors is now 350 taka, which are made of aluminium.
Step -03
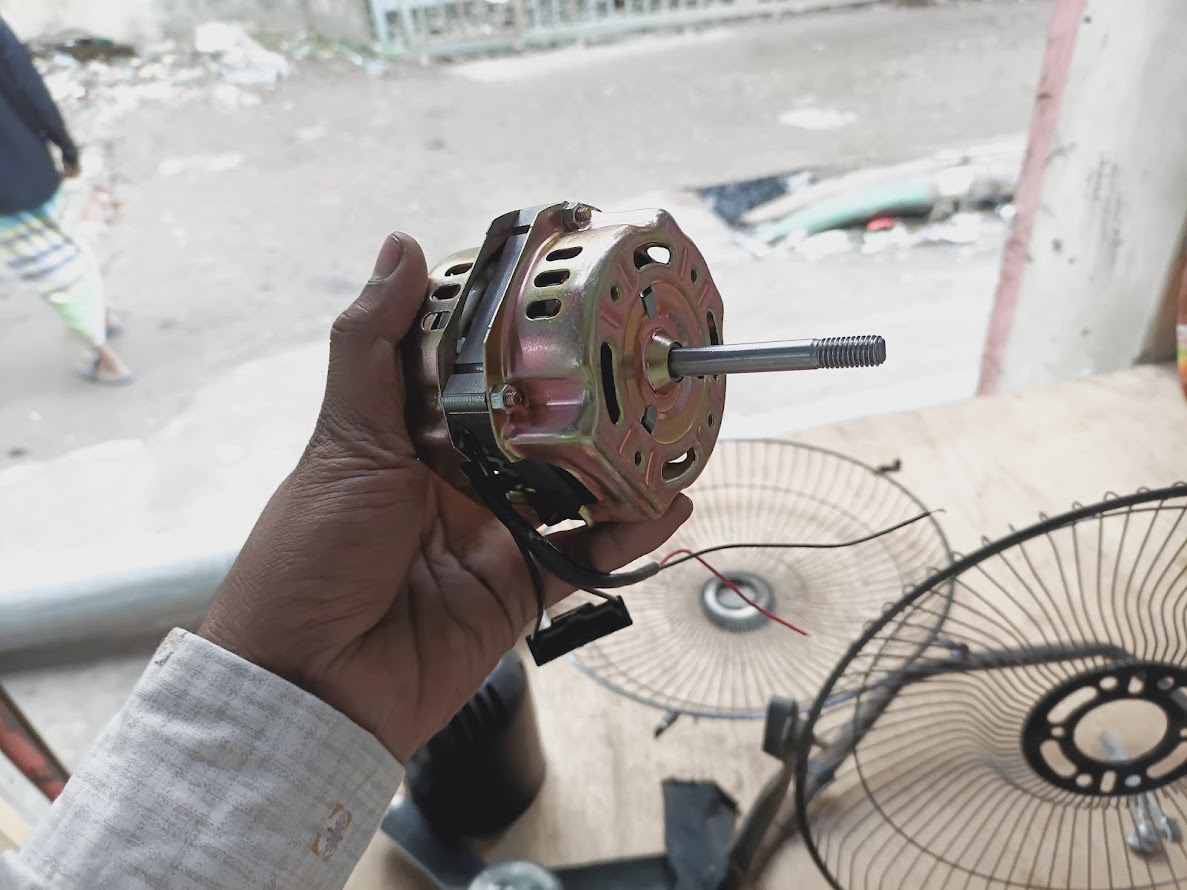
Now you can see a new motor in my hand, and you can see two new small red and black wires, and you can see a new capacitor; it is given with the motor. You do not have to open anything to connect this motor; just connect the motor and the regulator in series, and it will start running.
Step -04
 |  |
|---|
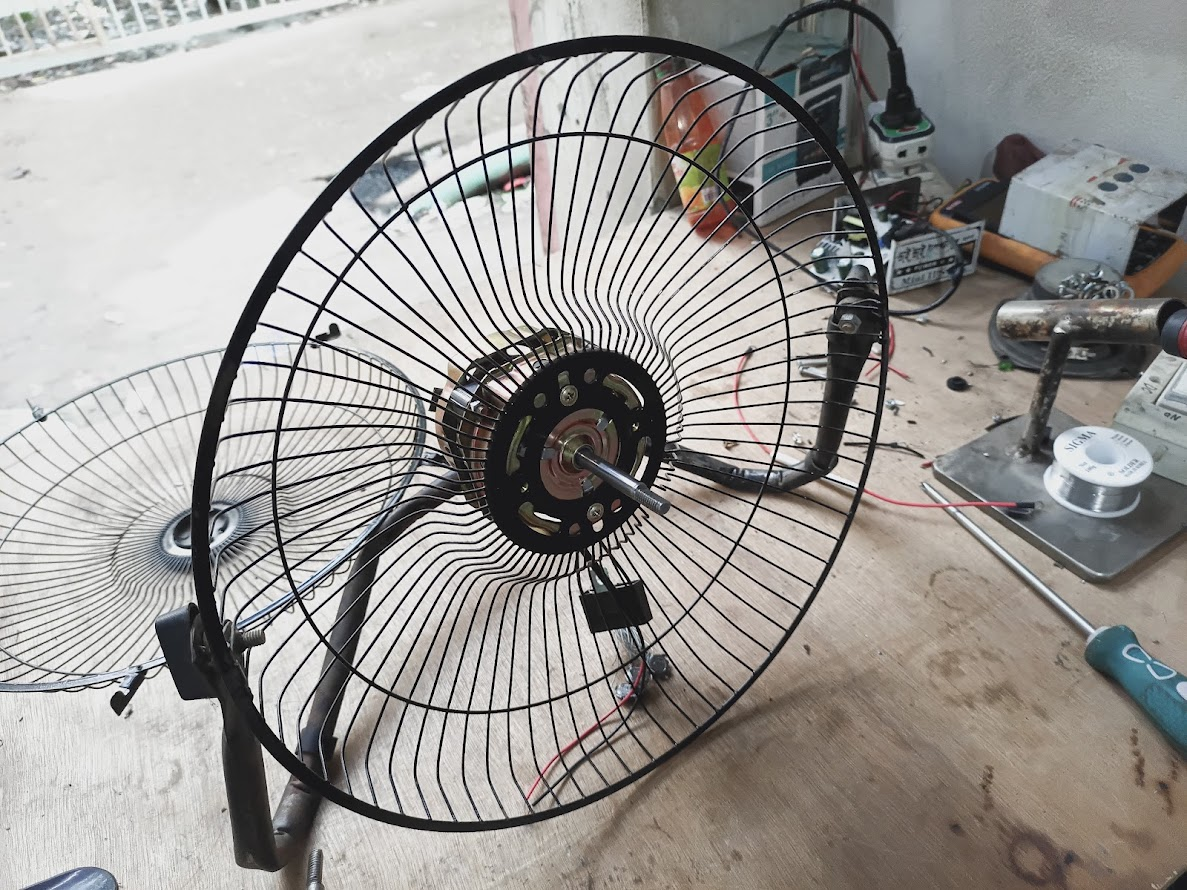
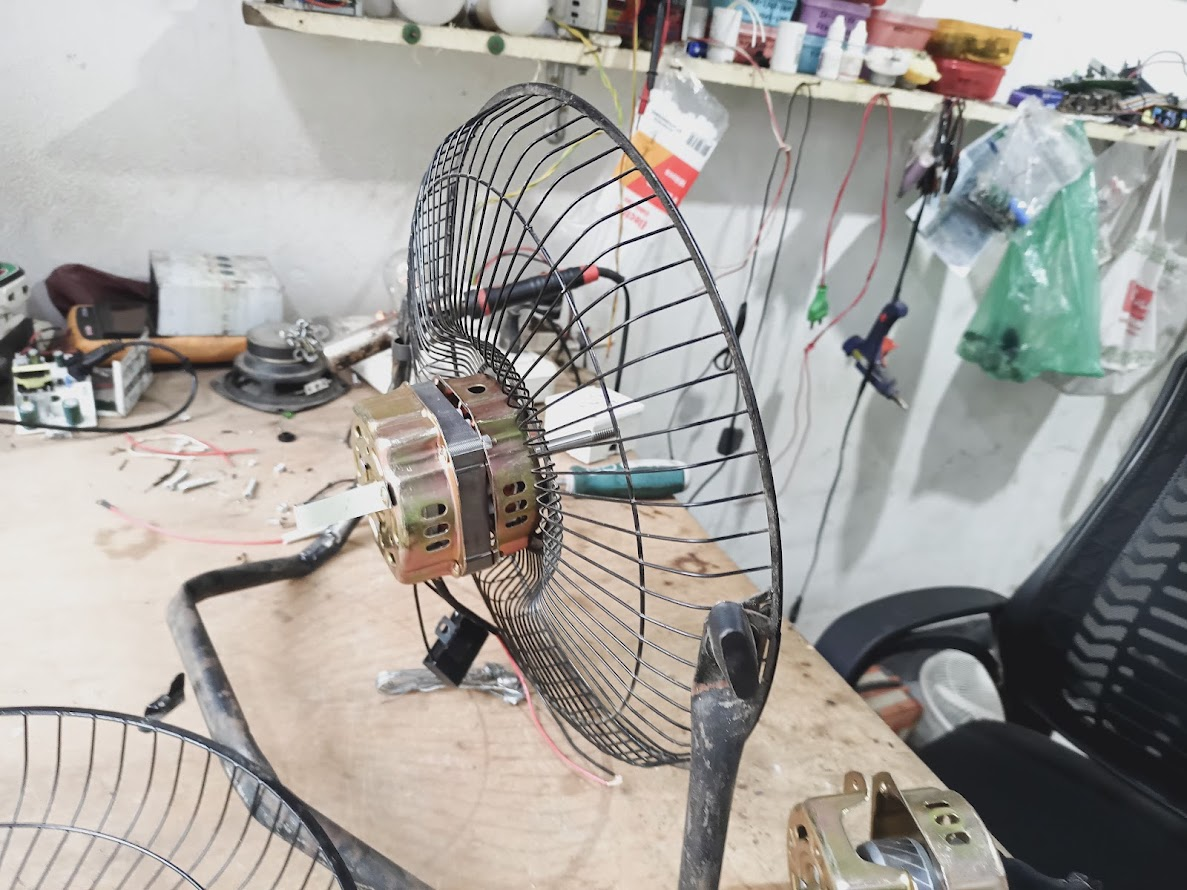
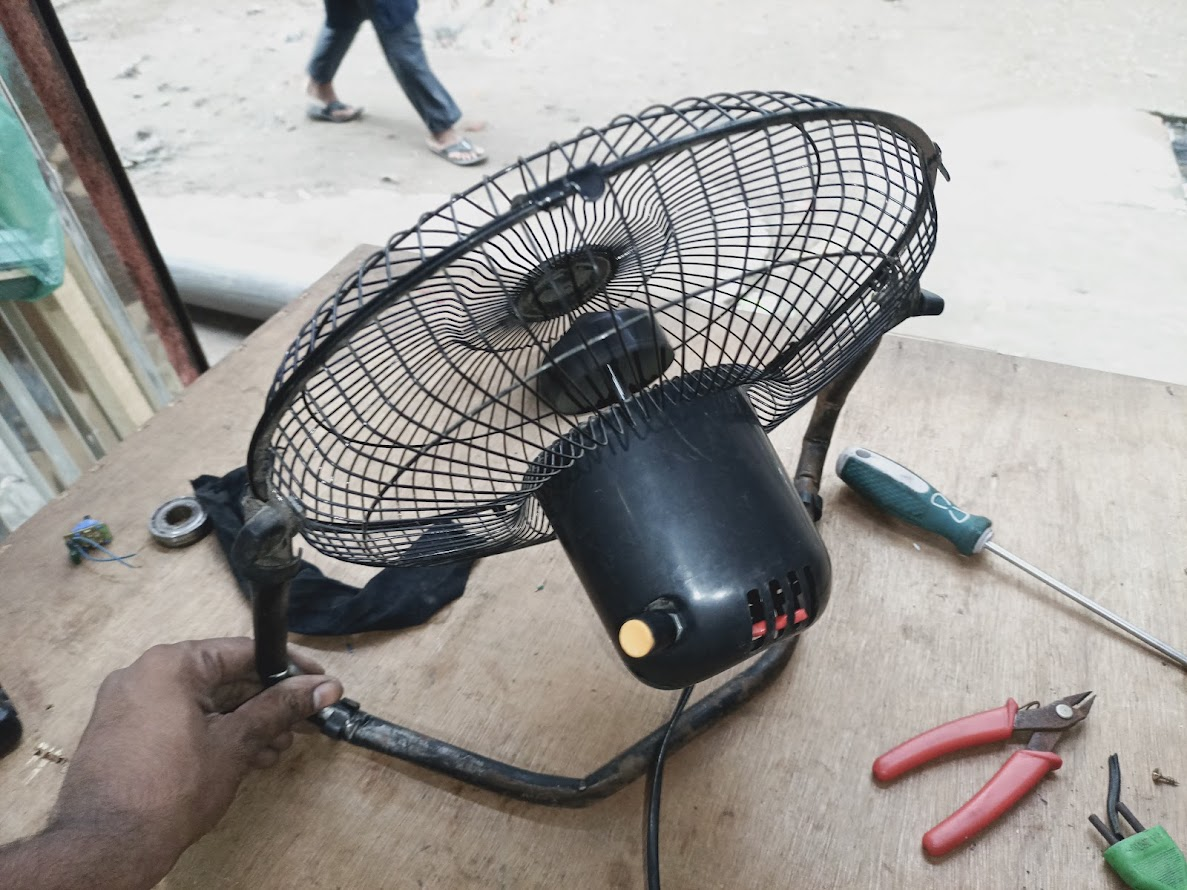
First of all, you can see that there are mesh covers; we have installed the motor from the back and put two screws from the front. And the capacitor that was given with our new motor is hanging from the bottom, so we have to lock it with a screw somewhere.
Step -05
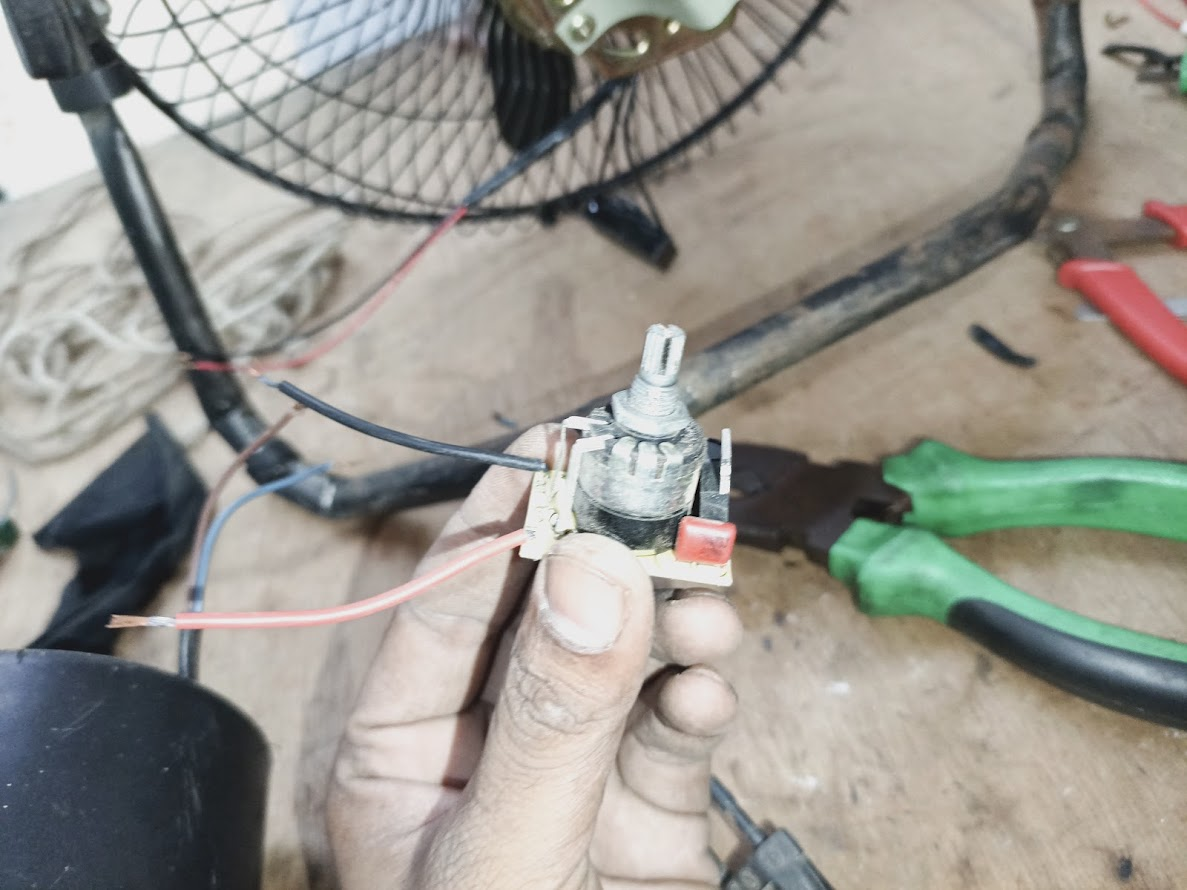
Now you can see a 220-volt AC voltage regulator in my hand. I am installing it as a new one; the previous regulator is not that good. Let's see how to connect the motor to the regulator.
Step -06
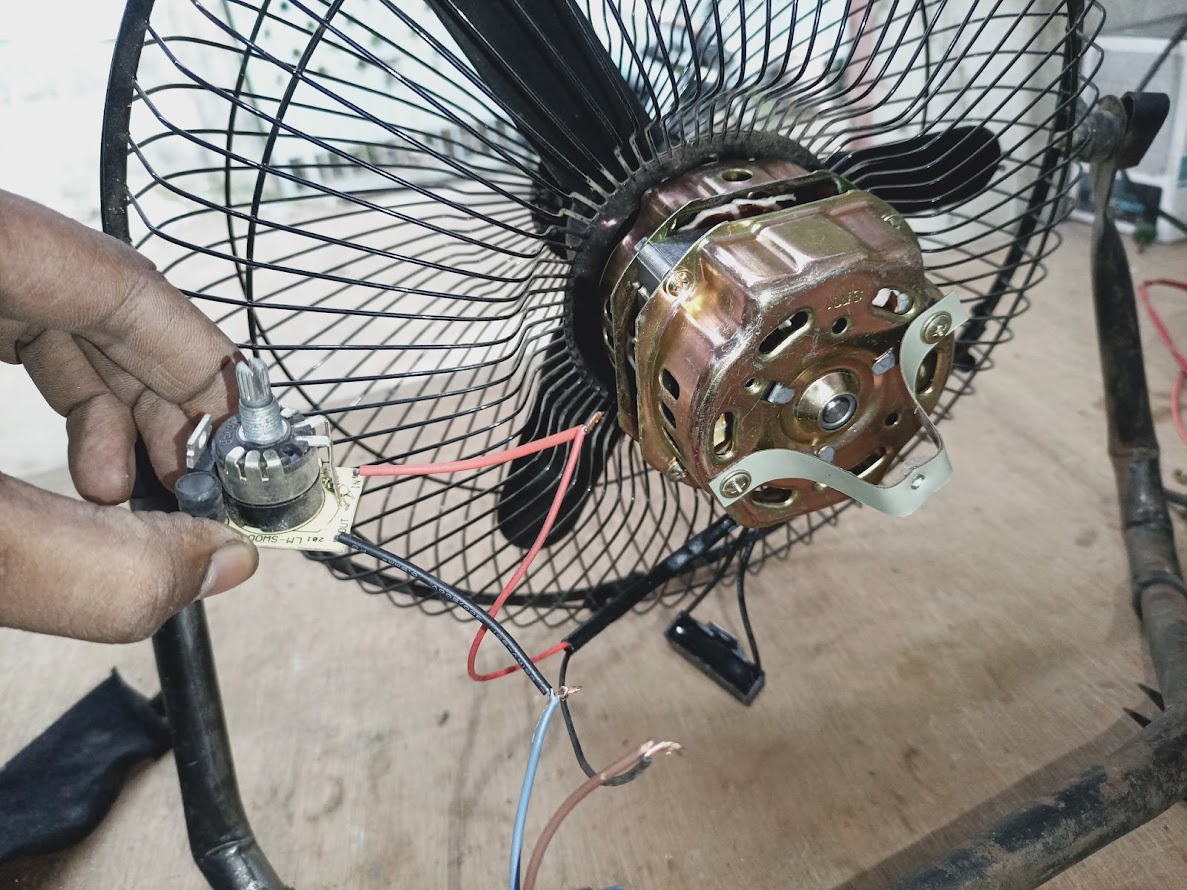
Here I will explain how to connect the two wires coming from the motor, the two wires coming from the AC cord and the two wires of the regulator. First, a black wire of the motor and a black wire of the 220-voltage AC cord will be directly connected. Then there will be a red wire of the motor and a red wire of the AC cord. Between these two wires, the two ends of the regulator will be connected in a series connection; this is how our connection will be done.
Step -07
 |  |
|---|
Now you can see that after connecting the regulator, I have also installed the iron cages that are on the front side and installed the regulator on the plastic cover that is on the back side, installed that cover from the back side and screwed it on. Now the fan is completely ready.
Step -08
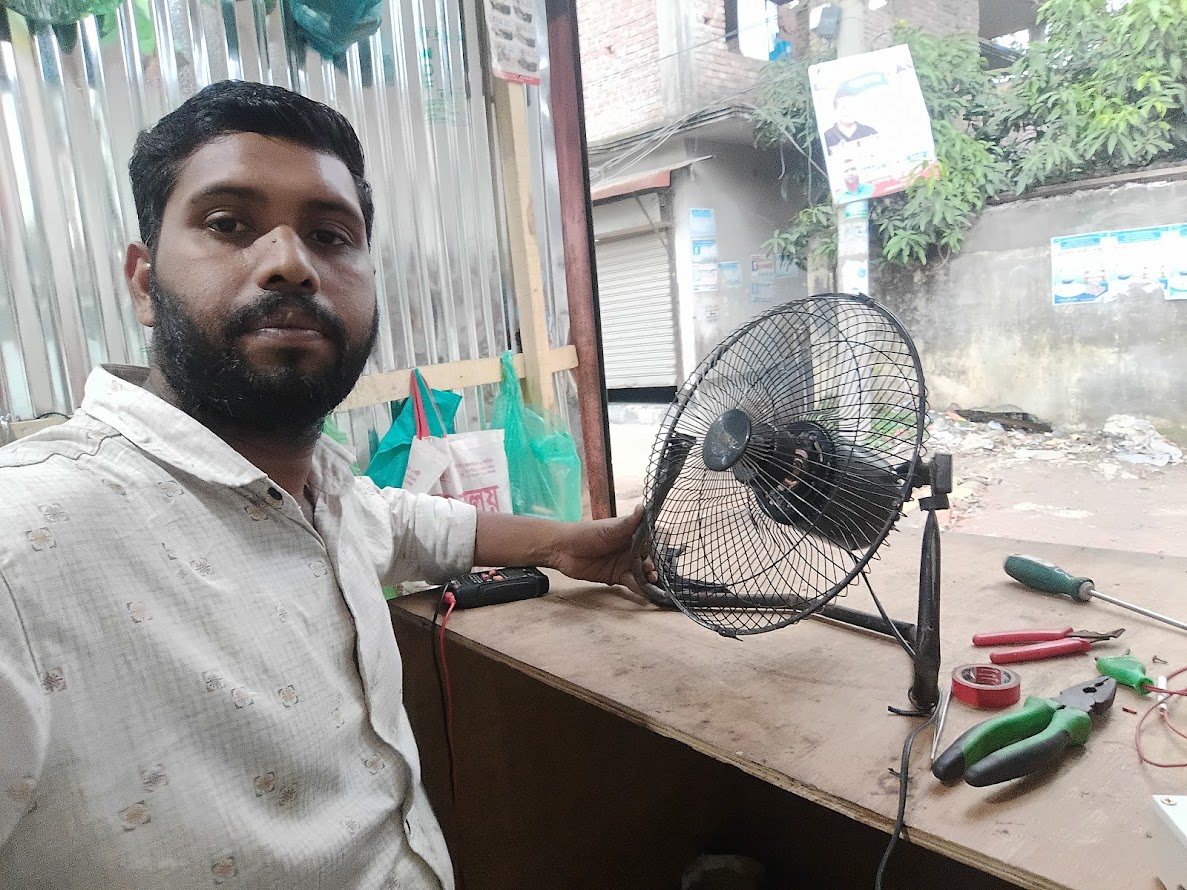
After finishing the work, I took a selfie with myself, and these fans are sold at the current market price of 1500 to 1400 taka. I spent 350 taka on the motor, 50 taka on the car rental and 50 taka on the regulator, for a maximum of 450 taka. I took 200 taka as wages. The total cost of this fan was 650 taka, and the fan was completely repaired at half the market price.

✅ CC: My friend @rmm3
| Photography Details | 📱 Device: Walton Xanon90 | 📍 Location: Narayanganj, Bangladesh | 📷 Captured By: @imranhassan |
|---|
High-Yield Curation by @steem-seven
Your content has been supported!
| Vote Witness @seven.wit | Meet Speak on Steem |
|---|---|---|
We are the hope!